Why Stickers on Figurines Peel Off
Learn why stickers on figurines peel and how to prep, apply, and seal them so your decals stay crisp for years.
You pose a favorite mecha or magical girl on the shelf, glance back a few weeks later, and the perfect chest emblem you spent time aligning is now lifting at the corners like it is trying to eject itself from canon. Collectors who prep surfaces carefully, choose the right decal type, and seal their markings properly routinely keep toys and display pieces looking “fresh out of the box” even after years of shuffling shelves and light handling. This guide explains why stickers peel in the first place and walks through practical, hobby-tested ways to prevent and fix it.
Why Figurine Stickers Peel Over Time
Aging adhesive: when the glue gives up
Vinyl stickers on plastic naturally tend to curl, peel, and crack over time if they are not sealed and protected, especially when exposed to handling and the elements. Under the surface, most figure stickers use pressure-sensitive adhesive that stays tacky instead of curing solid. That tackiness is a blessing at first and a curse later.
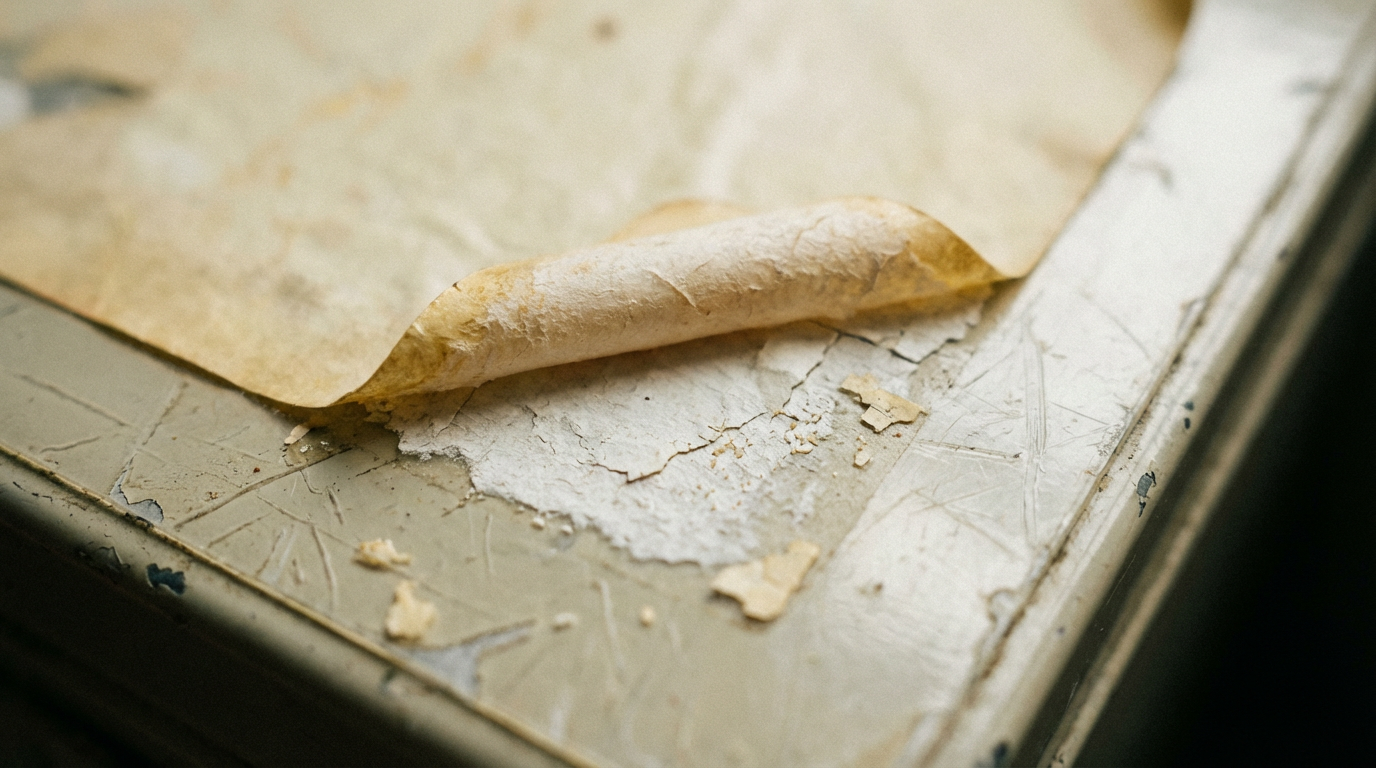
Over months or years, the adhesive slowly dries out, shrinks, and hardens. Dust, skin oils, and micro-scratches from casual dusting creep under the edges and onto the sticky layer, reducing real contact with the figure. Collectors restoring old stickers often reach for spray adhesive, rubber cement, or glue sticks because the original glue has gone dull and non-tacky. Once you see whitening at the edges, a papery feel, or flakes of adhesive when you lift a corner, you are not imagining it—the glue has aged out, and pressing harder will not make it bond like new again.
Surface mismatch: smooth plastic, porous clay, and joint stress
Ceramic bodies range from porous low-fired earthenware to dense, vitrified porcelain, with porosity and surface texture changing how coatings stick to them, as outlined in preservation guidance for ceramic objects. In the same way, sticker adhesives are tuned for certain surface types. Industrial labeling guidance divides them into metals with high surface energy (easy to bond), high-energy plastics like polycarbonate or ABS, and low-energy plastics like polystyrene or polypropylene where even strong adhesives struggle to wet the surface. Many toy and statue plastics fall into those trickier categories, so a generic sticker sheet may simply be working uphill.
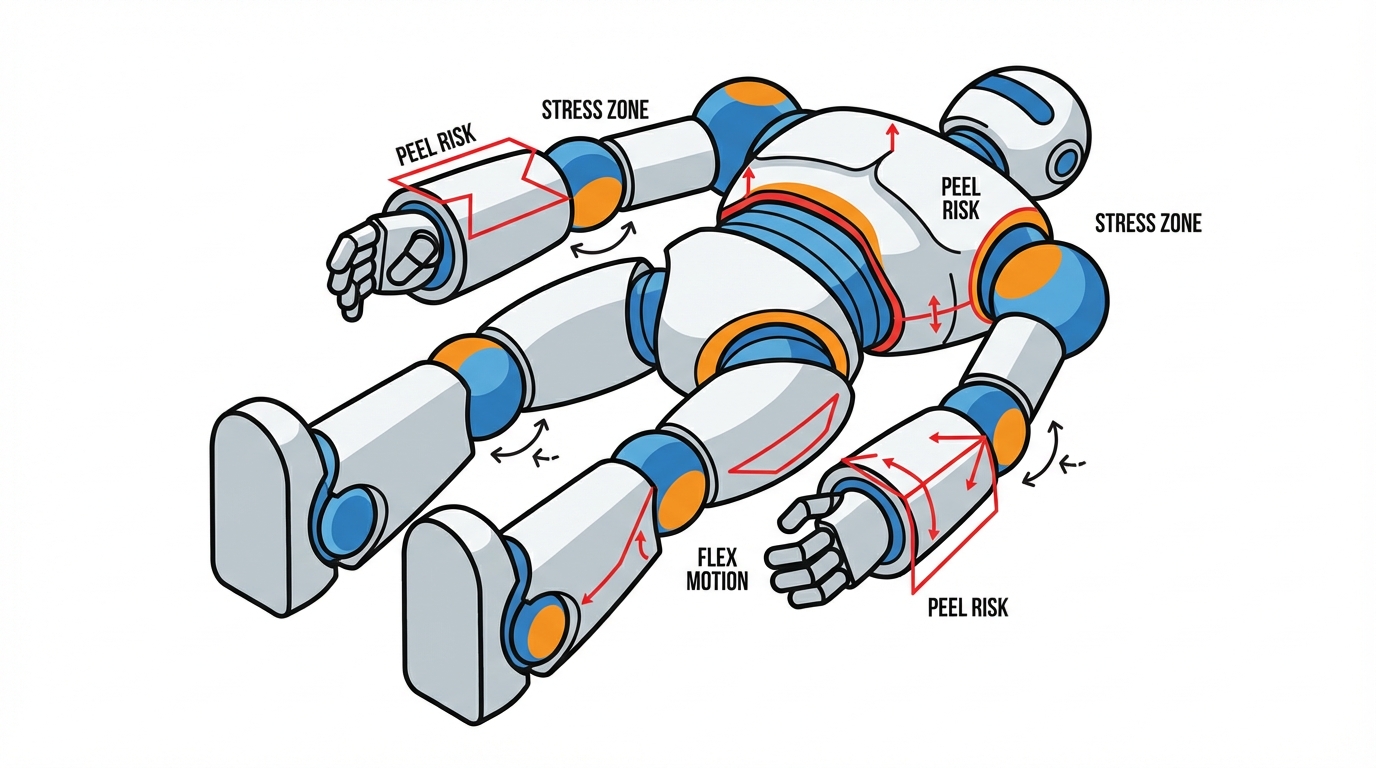
You see this mismatch when color-correcting stickers on complex shapes refuse to stay wrapped, especially on SD-style kits with large, curved armor pieces. Hobby writers note that these bigger stickers often crumple or lift at edges because they do not conform or grip strongly on compound curves. On articulated figures, the problem multiplies. Collectors have reported wing stickers on transforming robots peeling exactly along the hinge line where flaps meet because every transformation flexes the plastic and shears the adhesive film at the same points. Even if the glue is fine in the middle, the high-stress zones near joints and sharp curves are where peeling almost always starts.
Environment: temperature swings, humidity, and light
Recommended storage for ceramic collections is surprisingly gentle: around 66°F with roughly 50% relative humidity, and only small short-term fluctuations of a few degrees and a few percent humidity to avoid damage to clay bodies and their surface treatments. Figurines and their stickers, whether plastic or ceramic, live in the same physics. Sudden changes in temperature and humidity make substrates expand and contract at different rates than the adhesive layer. Over time, that micro-movement acts like slow, constant flexing of the sticker.
Direct sunlight adds another problem. Practical tutorials on protecting toy decals describe how Lego-style graphics left in bright light fade and deteriorate, to the point that clear packing tape is recommended as a quick UV shield over vulnerable decals on display toys in one toy decal protection guide. Heat from windows or display lighting softens adhesives, making them creep, then re-harden in a distorted position once things cool.
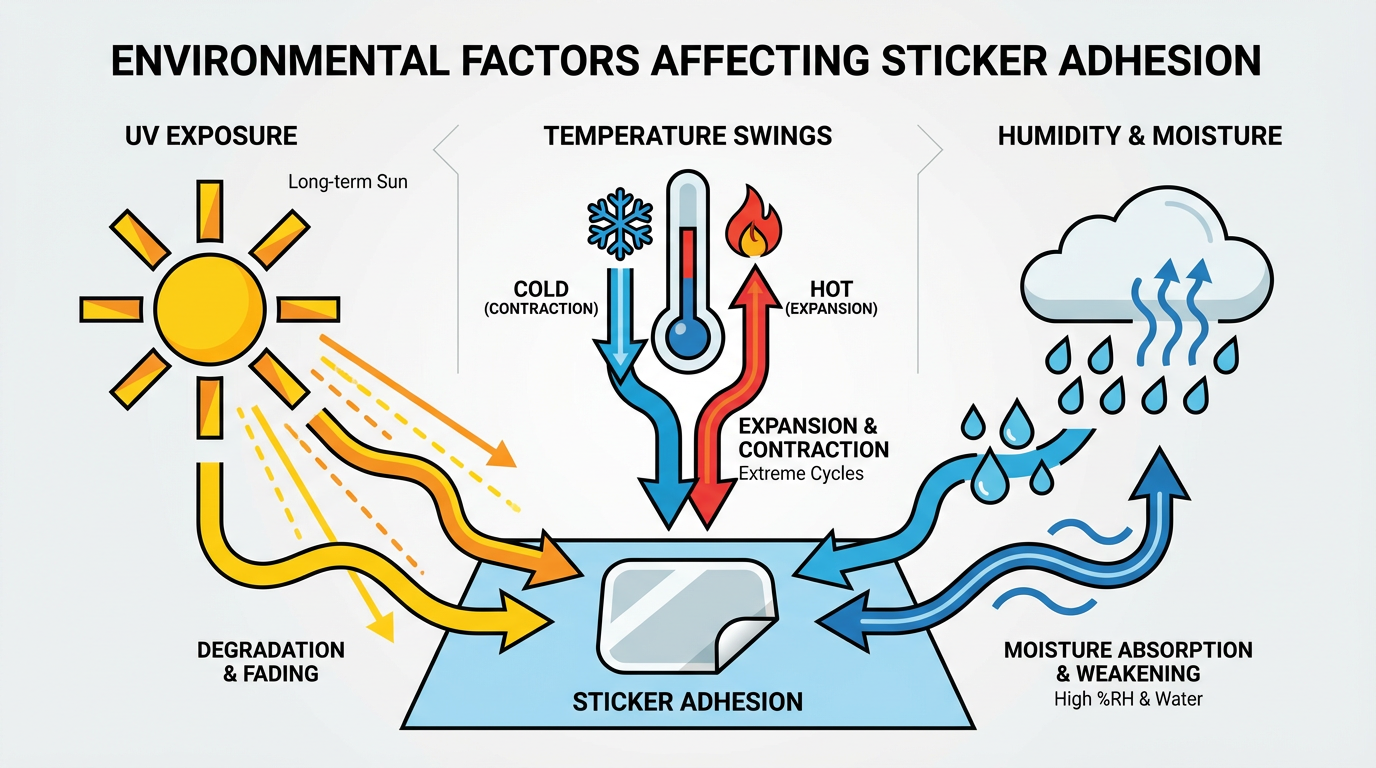
That is why the side of a figure facing a sunny window is often the first place you see curled logos or ghosted outline residue.
Application mistakes you only notice a year later
Experienced decal users stress that decals should go on over a clean, smooth, glossy surface, not bare, rough paint, because gloss varnish prevents trapped air and lets setting solutions fuse the decal into the paint layer. If you stick peel-and-stick labels straight onto matte paint, dusty plastic, or an unwashed figure, you get weak contact from the start. Finger oils on the adhesive, micro-dust, or a slightly textured base may not show anything at first, but they create tiny unbonded pockets that become future bubbles and lifting edges.
Temperature at application matters too. Sticker installers recommend applying decals in shaded, moderate conditions above about 50°F and below about 90°F while avoiding hot sun so adhesives can flow and wet the surface instead of flashing off too fast. If you rush a late-night stickering session in a cold room or use a hair dryer to force-dry paint seconds before slapping on decals, you are stacking the deck toward poor wet-out and long-term adhesion problems. The sticker may survive a few months, then begin creeping or bubbling as the adhesive tries to relax and equalize.
Sticker Types on Figurines and How They Behave
Modeling stores divide markings into peel-and-stick stickers, dry transfers, and waterslide decals, each with very different behavior on figurines. Understanding which you are dealing with explains a lot about why something peels.
Sticker-style decals are the classic peel-and-stick sheets you see with many figure releases and entry-level kits. They go on fast and give instant color, but the edges remain obvious and they are notorious for lifting on sharp curves and corners. Dry transfers are rubbed from a carrier onto the surface; they look painted on and avoid a surrounding film, but you essentially get one shot at placement and they can scratch off if not sealed. Waterslides are printed on thin film that slides off a backing in water. They are fussier to apply but, when used with setting and softening solutions on a glossy base, they can visually melt into the paint and adhere much more strongly, particularly once overcoated with clear varnish.
A quick way to think about their behavior on figurines is summarized here.
Sticker type | How it behaves on figures | Pros | Cons for collectors |
|---|
Peel-and-stick stickers | Thick film with obvious edge; tends to lift on sharp curves and moving joints | Very fast, no special tools, common in boxed figures | Weak long-term adhesion on complex shapes; easy to snag or peel |
Dry transfers | Thin, painted-on look with no clear edge | Great finish on smooth, flat armor plates | One-shot placement; scratches if unsealed |
Waterslide decals | Ultra-thin, conforms to detail with setting/softening solutions | Most realistic finish; strong bond when glossed and overcoated | Steepest learning curve; needs varnish and chemistry |
Once you know what you are working with, you can pick prep, application, and sealing methods that match how that marking behaves instead of treating everything like a generic sticker sheet.
Preventing Peeling on New Figurines
Prep the surface like a pro modeler
Decal veterans routinely emphasize that clean and glossy beats “good enough” every time, because gloss gives setting solutions and adhesives a smooth path to grab and blend into the paint. Before you touch a sticker sheet, wash the figure or part gently with mild soap and water to strip mold release, dust, and skin oils, then let it dry completely. On bare plastic or paint, you can add a thin gloss clear coat over the areas where decals will sit.
For large stickers, installers advise cleaning again just before application with a mix such as half water and half isopropyl alcohol and making sure no window cleaner residue is left behind. That extra step is especially important on older figures that have been handled for years; oils that migrated into the plastic can seep back out and sabotage adhesion unless you reset the surface. Treat the prep like panel-lining or topcoating: it is part of the hobby, not optional busywork.
Choose application method for the shape
For decals on domed or highly curved surfaces, vinyl makers recommend a wet method using a soap-and-water solution so the decal can slide, settle, and let bubbles be pushed out before the adhesive fully grabs, a technique described clearly in comparisons of wet and dry decal installation methods. RC car hobbyists use a similar trick on big body graphics: they touch a fingertip to dish soap, smear a thin soapy film on the adhesive side, and then squeegee water out once the sticker is correctly placed, giving time to reposition while retaining enough tack to stay put, as discussed in a forum thread on the best sticker install aid. On larger armor panels, shields, or vehicle bases, that little bit of slip can be the difference between a stress-free logo and an air-bubbled nightmare.
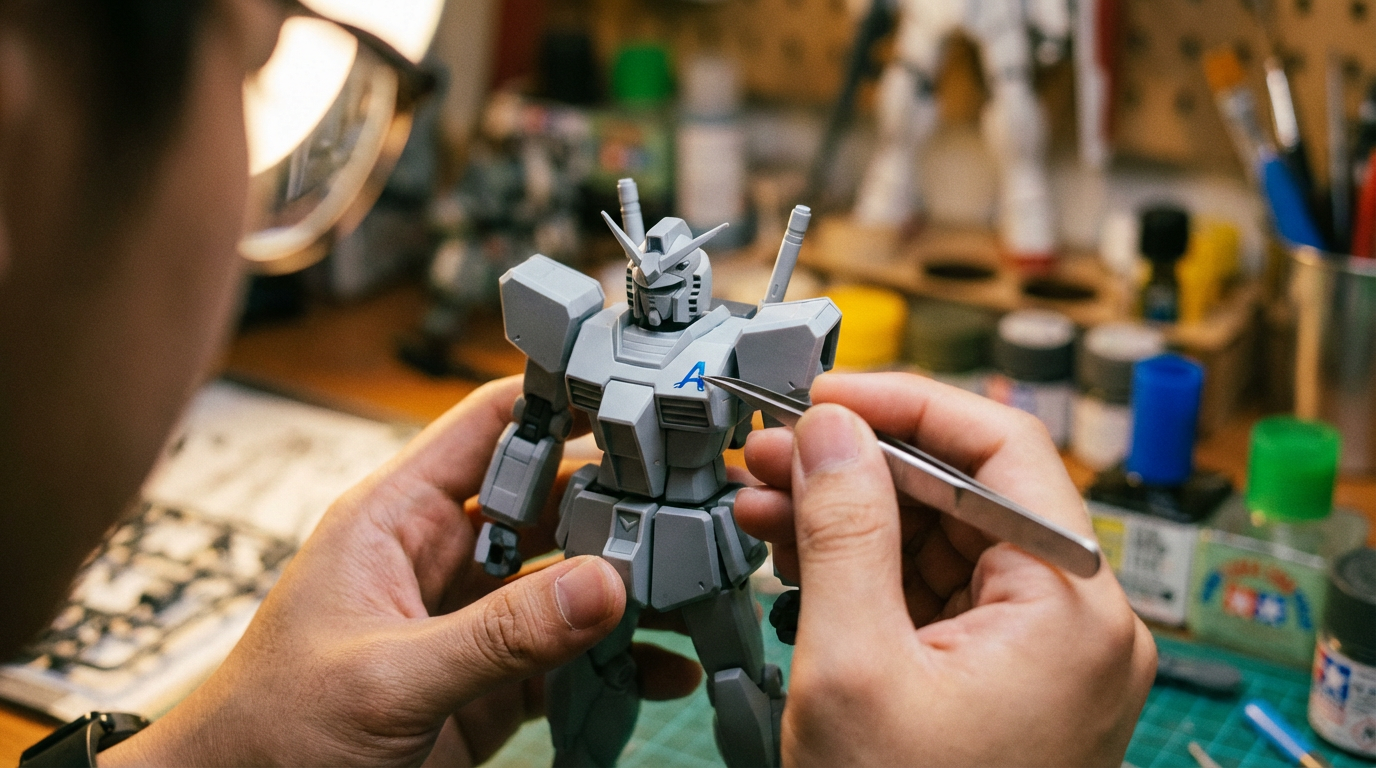
For small markings like eyes, faction symbols, or warning labels, many collectors prefer dry methods. Some use a needle or pin as a temporary handle to keep fingers off the adhesive and align tiny stickers precisely on third-party robots and similar toys. Others rely on tweezers or the edge of a hobby knife blade to carry the sticker and anchor only one corner before smoothing it down. What matters is reducing fingerprints and having a clear view of the target zone, because the cleaner and more controlled that initial contact is, the fewer micro-bubbles and edge stresses your sticker will inherit.
Lock it in with topcoats and sealants
Model-kit specialists strongly recommend a clear topcoat over any decal type to help hold markings in place and visually blend edges into the surrounding plastic, so the finish looks unified instead of like stickers slapped on. A common approach is gloss under the decal, then an overall matte or satin varnish once everything is fully dry. This not only reduces edge visibility but also creates a sacrificial layer that takes the brunt of dusting and accidental fingernail flicks.
For vinyl stickers on plastic bases, collectors and crafters often reach for decoupage glue or polyurethane as both adhesive booster and sealant, since these products are formulated to dry clear while gripping plastic. A thin coat brushed under the sticker if it is weak, followed by one or two coats over and around the edges, can turn a vulnerable base logo into something closer to a printed graphic. For heavily used surfaces like a child’s toy table or a frequently handled figure stand, some collectors even consider furniture-style polyurethane finishes, echoing questions from DIY furniture hobbyists who worry about decals peeling under daily use on painted tabletops.
Saving Stickers That Are Already Peeling
When edges lift but most adhesive is still there
Simple household methods can make a big difference when only the edges are lifting. A DIY guide for toy decals suggests laying a small piece of clear tape over the peeling graphic, carefully smoothing it so the sticker remains visible but its edges are sealed, as demonstrated on a Buzz Lightyear figure in a tutorial on keeping decals on toys safe from damage. This is especially handy on high-play figures where a perfect display finish is less important than making sure the design stays put through rough play.
Gentle heat can occasionally revive adhesive that is dry but still present. Crafters repairing old stickers use a low-setting hair dryer held a few inches away until the adhesive feels tacky, then press and hold the decal down firmly as it cools. Combined with a good clean of the underlying surface, this can buy more life for faction logos on transforming robots or color-correcting stickers on budget kits that you do not want to strip and redo entirely. For small corners, a drop of clear-drying glue stick applied with a toothpick under the edge, then pressed flat, is another community-favorite trick borrowed from vintage toy restorers.
When stickers have lost stickiness
When the back of the sticker has gone chalky or the adhesive is mostly gone, collectors move from “rescue” to “reattach.” Toy-collector forums discussing how to glue dead stickers back onto figures often recommend light coats of spray adhesive or tack sprays from brands like 3M or Krylon because they allow you to tune bond strength and are designed for flexible surfaces. By spraying a light layer onto the back of the sticker or onto a scrap, then transferring a thin film with a brush, you can rebuild an even adhesive layer without soaking the figure itself.
For paper-like stickers on flat surfaces, some restorers report good results using archival or standard glue sticks. One approach is to place a slip sheet of paper under the sticker while it is still attached at one edge, apply glue to the lifted portion, and then pull the slip sheet out while smoothing the sticker down, a method shared by hobbyists reattaching decals on vintage toys. This minimizes mess on the surrounding paint, and the lower moisture content of glue sticks compared with liquid glue reduces wrinkling. Always test any adhesive on a hidden area or spare part, because different paints and plastics react differently and a reaction can be worse than a peeled sticker.
When you want near-permanent protection
If a marking absolutely must not peel—think a signature emblem on a grail statue base—you can effectively entomb it. Vinyl specialists describe building up multiple coats of decoupage glue or polyurethane over stickers, letting each dry fully, until you have a clear shell that resists water, weather, and everyday wear for years. This is overkill for most anime shelves, but on outdoor display pieces, frequently handled bases, or childhood toys you are preserving for the next generation, it can be worth the tradeoff in reversibility.
The tradeoffs are real. Thick sealants can alter gloss, slightly soften sculpted detail, or yellow over many years, and they are far harder to remove than a simple rattle-can clear coat. For high-end statues or rare vintage robots, many collectors instead choose to replace failing stickers altogether with custom waterslides or new vinyl sets, then seal those with hobby varnish. That approach keeps the surface closer to the original while still providing modern durability.
What Collectors Can Learn from Ancient Painted Figurines
Studies of ancient clay figurines from Demetrias reveal that Hellenistic coroplasts layered pigments, white grounds, and even metallic foils onto terracotta figures with far more complexity than a single coat of paint. Those surfaces were then buried, exposed to humidity changes, salts, and rough handling during excavation, leaving many with patchy, flaking color. Conservators examining these pieces see how subtle changes in environment and cleaning can further disturb already fragile paint layers, underscoring how sensitive decorative coatings are on small objects.
Modern preservation guidance for ceramics emphasizes keeping temperatures around 61–71°F with relative humidity between roughly 45–55% and limiting short-term swings to avoid cracking, salt efflorescence, and loss of surface coatings on ceramic objects. Your anime figures and statues are cousins of those ancient pieces. While they sit in display cases instead of tombs, the lesson is the same: controlled environments, gentle handling, and respect for layered surfaces keep decoration intact. Whether that decoration is hand-applied madder lake on a clay figurine or a foil faction logo on a mecha wing, the combination of substrate, adhesive, and environment decides its fate.
FAQ: Quick Answers for Peeling Figurine Stickers
Can sealing over stickers damage the paint on a figure?
Sealants that double as adhesives, such as decoupage glue or polyurethane, are formulated to bond to plastics and dry clear, and are widely recommended when sealing vinyl stickers on plastic surfaces. However, both hobby varnishes and household sealants can react differently with various paints and plastics. Always test on an underside or spare part, and apply multiple thin coats rather than one heavy one to reduce the risk of wrinkling or clouding.
Are waterslide decals really more durable than stickers on figures?
Modelers who have painted and decaled hundreds of kits report that waterslides applied over gloss, set with decal solutions, and then overcoated behave like part of the paint job and resist handling better than peel-and-stick labels, especially when finished with matte coats like Dullcote. Combined with the recommendation from kit specialists to topcoat decals for durability, waterslides plus varnish typically outlast thick sticker sheets whose edges remain exposed and easy to snag.
Is it worth fixing peeling stickers on heavily played toys?
DIY guides aimed at kids’ toys show that even simple fixes like clear tape over decals or a bit of safe glue can quickly restore play figures and keep kids happy, as demonstrated in a tutorial on keeping decals on toys from damage. For sentimental or display pieces, investing the time to reglue, reseal, or even replace decals makes sense; for everyday play toys, quick, reversible fixes that protect graphics without turning the figure into a fragile display-only piece are usually the sweet spot.
When you treat figurine stickers as tiny, layered artworks instead of disposable decorations, you start making the same decisions conservators and pro modelers do: prep the canvas, respect the materials, and give them a stable home. Do that, and your favorite emblems will keep shouting their faction loyalty long after the next season’s merch hits the shelves.